Sunday, March 18, 2012

Cheetah nails

New look to Cheetah Nails!
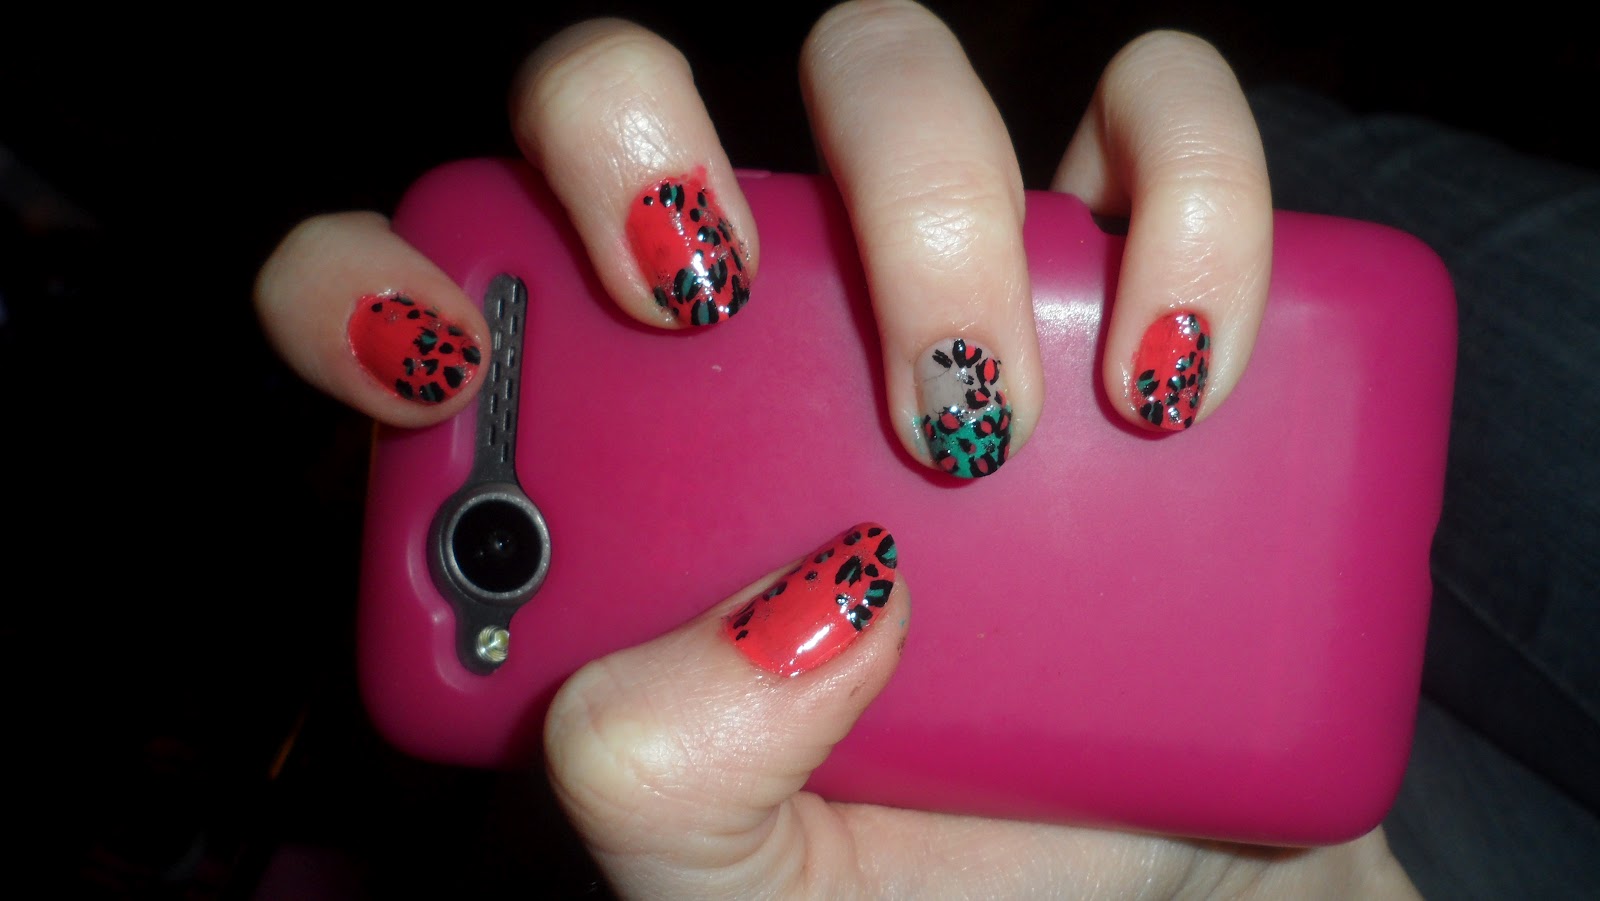
First I painted all the nails but the ring finger with a pink./orange polish.


Then I painted the tips of the ring fingers with a turquoise and added the turquoise dots to the pink nails. And pink dots to the turquoise tips. If you want you can do the dots all over the nail but I changed it up and only did the tip and side.

Next I took a black nail art brush and painted circles, half circles, and dots with the colored dots to give that cheetah spot look.
And of course I took a sliver glitter nail art polish and put a few dots along the spots to give it some sparkle :)


Butterfly Wing nails


First you want to pain the nail with a light orange then take a darker orange and paint half of it. Or you could just use one single color.


Next draw a curved line from the cuticle to the side of the nail. Then make lines going up. I did four lines for my wings.


 Then connect the lines. You'll want to make them curved and spaced. To give them a more rounded look. First time at doing the wings so the first one (orange) wasnt as rounded as
the second one (purple).

Then color in the tip above the lines made.


 After that put all kinds of white dots in the colored in black tip.


Then finish with a top coat gloss and there you go! :)

Saturday, March 10, 2012

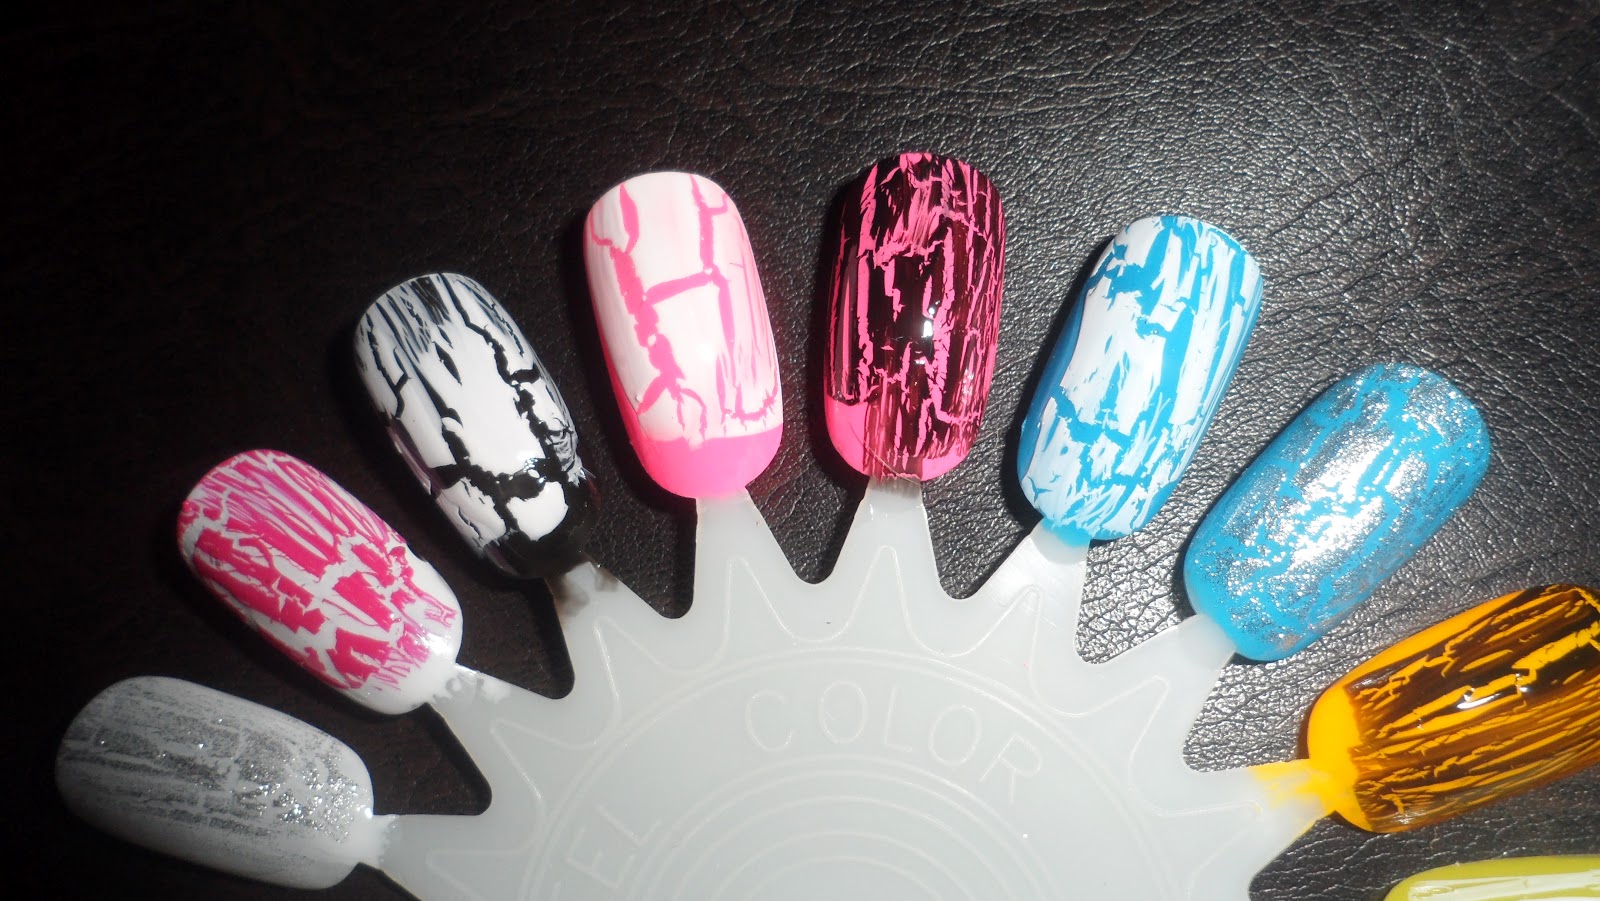
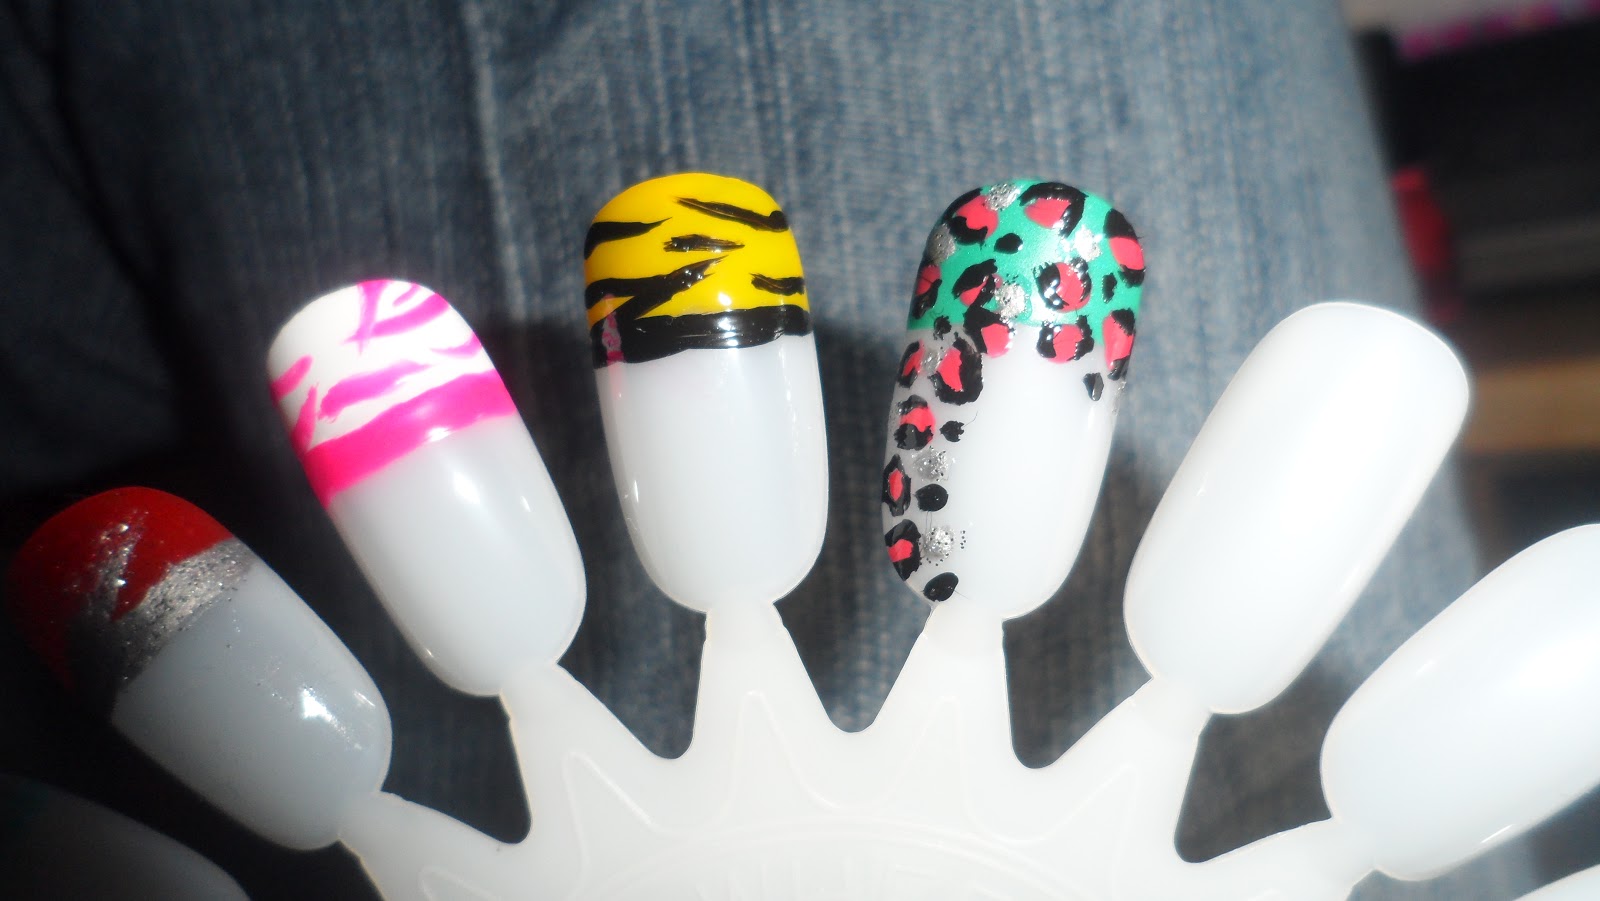
Nail Wheels

Here are wheels that I have done up. Some with just color shades, animal print, crackle, glitter, and tips. I will be adding to these over time. Just what I have put together at the time :)


Sunday, March 4, 2012

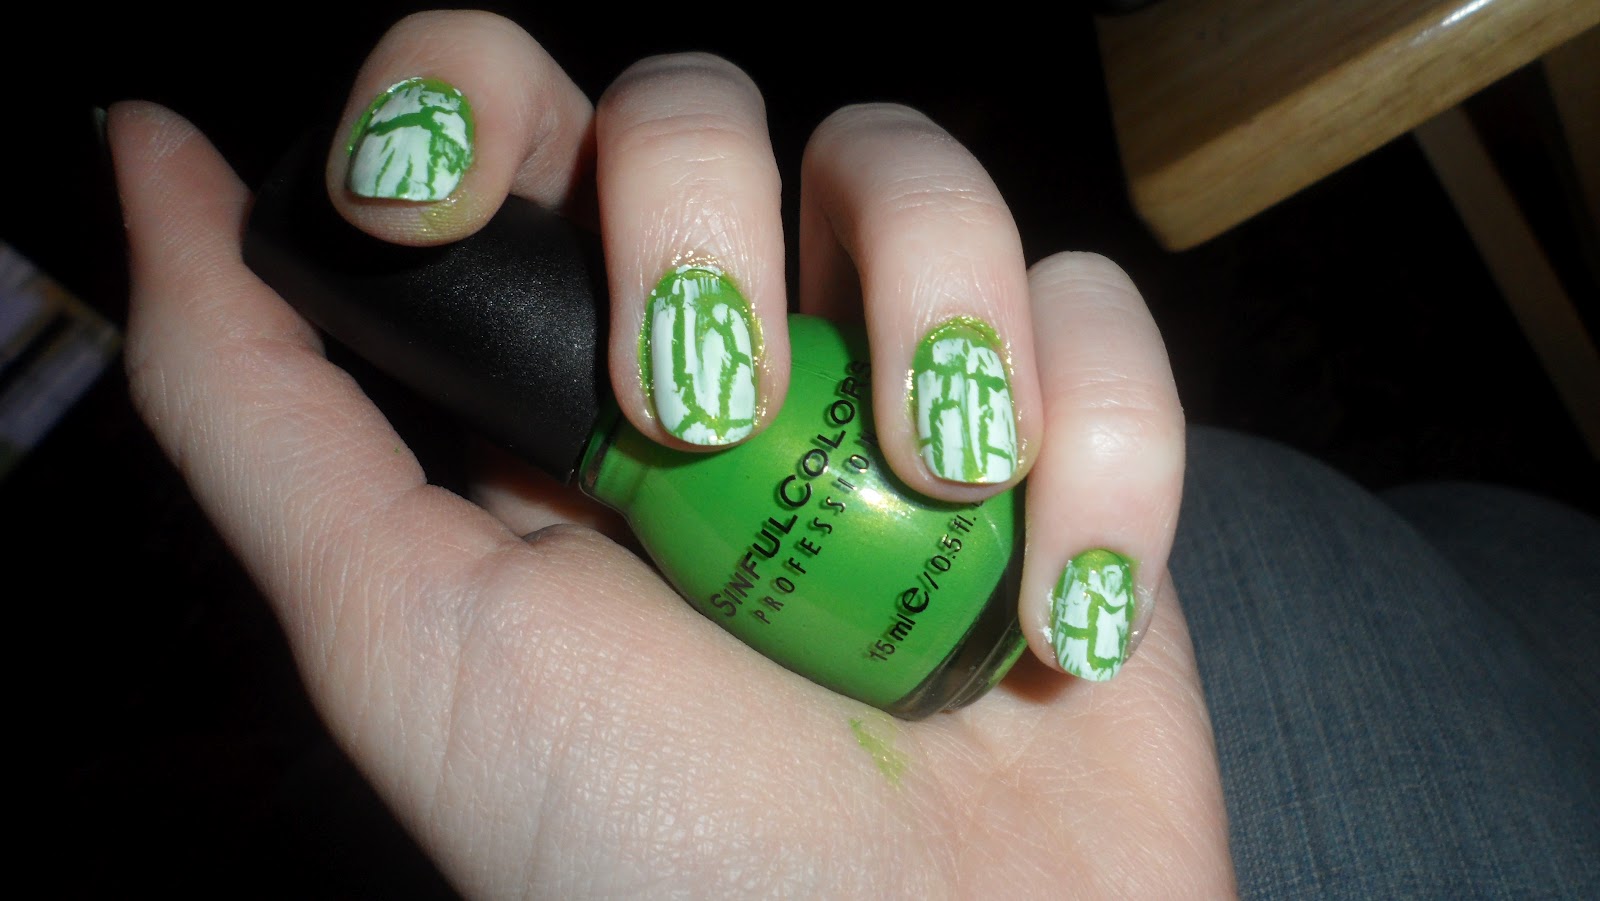
St.Patrick's Day

This is just a very simple and very easy nail. You just paint the nail a green color and paint over it after it dries with some white crackle. Its simple but after look is great. You can do all kinds of different designs with crackle. Some crackle polish is even called shatter. It just depends on what brand you buy and from what store. Then after everything has dried of course seal it with a top coat to hold everything in place, give it a shine, and smooth the nail.

The green polish I used was by Sinful Colors called Happy Ending.


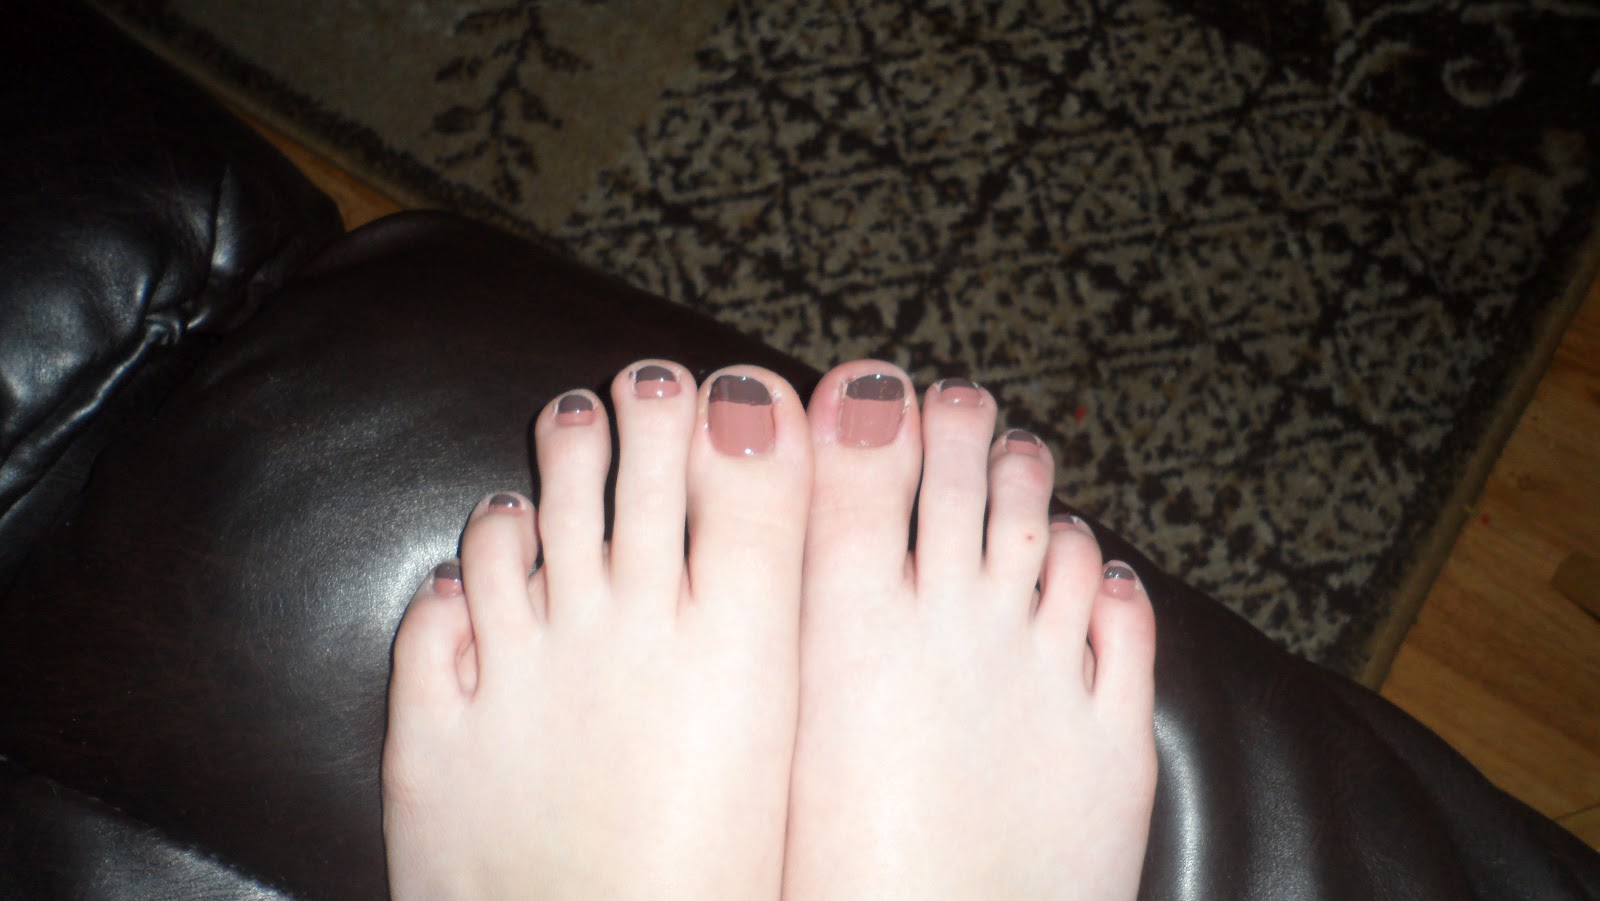
The Hunger Games Toes

So there is a line of "The Hunger Games" 12nail polish colors by China Glaze. For this I used two of the colors. The light color is Dress Me Up(left) and the darker color is Foie Gras(right).


I first started off by painting my toe nails with Dress Me Up.


Then I took Foie Gras and painted tips on all the nails.


 After they all were dry I found some lace styled tip nail stickers and placed on each nail. Then of course sealed with a top coat.


Thursday, February 23, 2012

My first Water Marble Nails

Water Marble nails are where you put a few drops to several drops of any polish color you desire, the polish will spread out along the surface of the water, then take a toothpick and  make your designs within the water. You can make all kinds of different swirls. Then place your nail into the water and seperating the left over polish from your finger. Then pull your nail out and you have the swirl design on your nail. This is a messy design, so what I did was take some pieces of tape and placed them around the edges of the nail. You'll still have some polish to clean off your skin but no where near as much as if you did not use the tape. You can use whatever colors you want and do all kinds of different designs. I of course at the end added some clear glitter polish to give them a nice sparkle. I love glitter.

I have been dying to try this design and seen it everywhere. If my directions are not enough I will attach a youtube link to a video that I watched to figure out how exactly how to do this. Although the swirls and what colors I used were my own idea, to do this specfic design and how to actually do was not mine. So I am not taking cradit for someone else's work. The video is how I learned.

It does take some time and practice to get a hang of it. By the time I was almost done with the first hand and moved to the second hand the process went a long a lot faster. You also have to keep moving with it as you put drops of polish into the water or it will dry up in the water and form like a skin later on top and that will never work then.

*A side note here....Try to use fresh polish. If you use a polish that you have had for quite sometime it will not spread in the water. It will just sit there and dry up. Older polish has had time to start to thicken is why.

Here are my photos of what I have done and the video...


 Video:

 http://www.youtube.com/watch?v=VCnmtJbI1oo&list=FLGeoC7xcfVZ6gjFSouMtaLQ&index=2&feature=plpp_video