Monday, May 28, 2012

Tribal Pattern

With this you can do the lines anyway you want and any kind of colors.


Super Hero Nails

Just a few Super Hero Nails (MORE TO COME SOON!!!)


Left >>> Right
*Captain America, SuperMan, Wonder Woman, SpiderMan*


Batman and Green Lantern


Sunday, May 27, 2012

Orange Abstract

This design was just something unique that I went crazy with. At first I was just going to have all my nails painted orange and then have white polka dots on them all arranged in different ways on each nail. But then I added other things to it, to spice it up.

~ First off I painted all the nails orange.


~ Next on each nail using white polish and the dotting tool I placed white dots on every nail. And no two nails are the same. Each nail the dots are in some different form.


~ Next still using the dotting tool I placed some little streaks of blue on a few of the nails. (No pictures shown below but I also placed blue streaks on the thumbs as well).


~ Then taking a purple I colored in a few of the white dots, and also made some smaller streaks inside the blue ones.

~ Add top coat and you're done :)


~ This design is cute and simple. Doesn't take no time at all to do it. And with this one there are no mistakes :) It'll look great no matter what and you can always mix it up. 


Border Nails

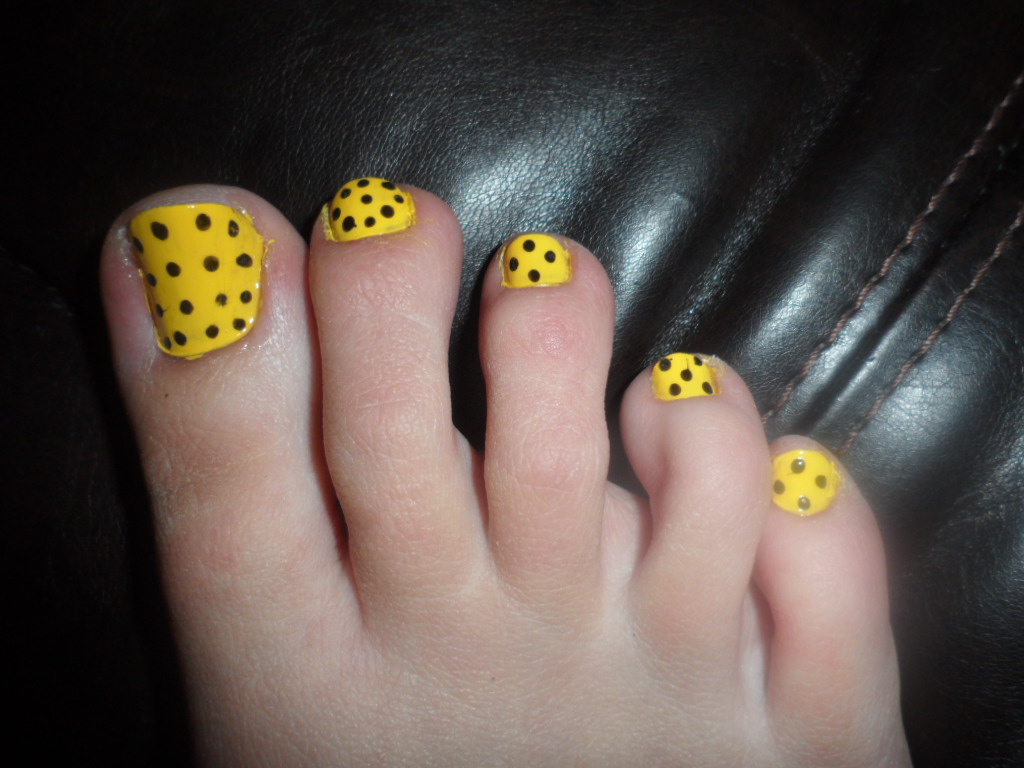
I've seen border nails all over the Internet and I thought it looked cool. So I tried it out and added my own twist to it. I will admit this was not my best design but it is something that I would love to try again and will try again someday. Also the way I did this took quite a while and I know if I did it a different way and wasn't so distracted it wouldn't had taken long at all.


>>First off I painted all the nails expect the ring fingers on both hands with a light/bright blue. If you want technical I guess its a Tarheel blue.


>>And I painted the ring fingers with black.

>>Once all the nails dried I used a black nail art paint/brush and outlined the blue nails. (Warning nails and outlines are sloppy, I greatly apologize).

>>Next comes the long part....I took some white colored nail jewels and out lined the black nails. I did not use glue to attach them like most places do. I just used the dotting tool and silver paint and places dots outling the black nails. The wet polish was used like a glue and they stuck once dried. (I don't like using glue on the nails).


>>Then seal everything with top coat. I used a couple more layers on the black nails with the jewels so everything holds in place.


**I hate how sloppy this design is so please don't judge. If anyone wants this done I promise it will look 10x better! This was my first attempt and I can do much better on the outlines, also I didnt clean up the edges of the fingers before I tooks the pictures :)

Bumble Bee Polka Dots

This design is quite simple but cute. Polka dot nails look cute anytime and with any color.

I used a bright yellow and black (bumble bee colors). I felt like this also was good for summertime.

*First off I painted all my toe nails with the bright yellow.


*Then once the yellow has dried I used the dotting tool, or you can use other items like a tooth pick, the nail art brushes to do the black dots.


<<<< Dotting Tool.


*Then like always had top coat to seal everything in and give it a bright shine.
**This nail is cute, easy, and fun. You can never go wrong with a polka dot design :)


Thursday, May 17, 2012

Pale vs. Bright


First off I painted all the nails with China Glaze Purple Panic (Neon). I did two coats of paint....


Once that dried (which dries very quickly) I used some "V" shaped nail tip stickers and placed on all the nails. I lined the tip of the "V" up in the middle of the nail.


Next I used China Glaze Dress Me Up from The Hunger Games Collection and painted the upper half of the nail with it.

**Do not let the paint set for too long after painting. Peel sticker off a few seconds after finishing painting. If you wait till it is completely dry then the paint will mess up.


After all that using my dotting tool I placed some silver dots along the edges of the lines.


***And of course add some top coat to help make it shine and add the bright color back to the neon purple after it had dried. I mixed a pale brown and a neon color together because I felt they both helped accent each other. And the deeper, pale color brings out the neon.  :)