Thursday, February 23, 2012

My first Water Marble Nails

Water Marble nails are where you put a few drops to several drops of any polish color you desire, the polish will spread out along the surface of the water, then take a toothpick and  make your designs within the water. You can make all kinds of different swirls. Then place your nail into the water and seperating the left over polish from your finger. Then pull your nail out and you have the swirl design on your nail. This is a messy design, so what I did was take some pieces of tape and placed them around the edges of the nail. You'll still have some polish to clean off your skin but no where near as much as if you did not use the tape. You can use whatever colors you want and do all kinds of different designs. I of course at the end added some clear glitter polish to give them a nice sparkle. I love glitter.

I have been dying to try this design and seen it everywhere. If my directions are not enough I will attach a youtube link to a video that I watched to figure out how exactly how to do this. Although the swirls and what colors I used were my own idea, to do this specfic design and how to actually do was not mine. So I am not taking cradit for someone else's work. The video is how I learned.

It does take some time and practice to get a hang of it. By the time I was almost done with the first hand and moved to the second hand the process went a long a lot faster. You also have to keep moving with it as you put drops of polish into the water or it will dry up in the water and form like a skin later on top and that will never work then.

*A side note here....Try to use fresh polish. If you use a polish that you have had for quite sometime it will not spread in the water. It will just sit there and dry up. Older polish has had time to start to thicken is why.

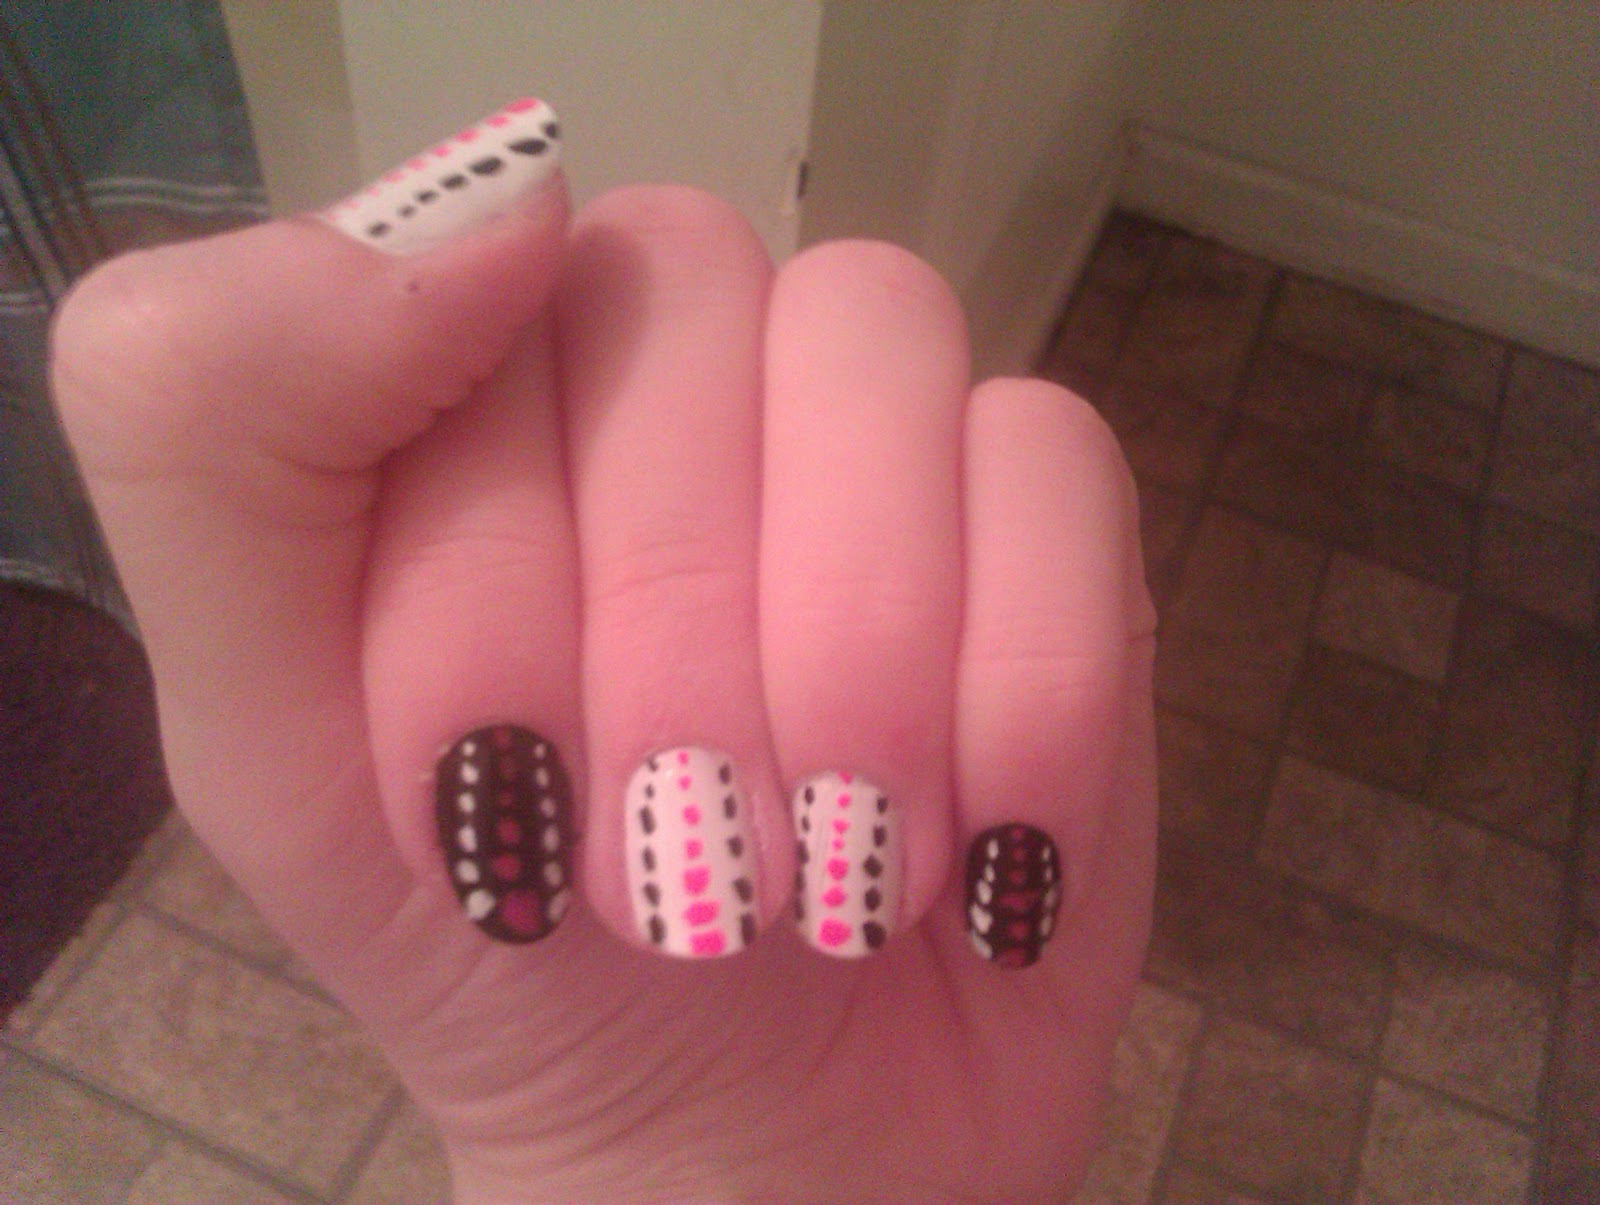
Here are my photos of what I have done and the video...


 Video:

 http://www.youtube.com/watch?v=VCnmtJbI1oo&list=FLGeoC7xcfVZ6gjFSouMtaLQ&index=2&feature=plpp_video

Thursday, February 16, 2012

Material Items and Tips/Hints

This will be updated periodically....
Here are just some things that I use. I'm too picky about the brand of polish. I have so much its unreal. I have a bunch from Walmart, Sally's Nail Salon, OPI, CVS, etc.... The cheaper the polish the more coats you have to use to get the actual color you want. And the more coats caked on top of the nail the less likely it will last long. They will just crack and chip off. But of course you dont always want to spend $8 bucks on a bottle of nail polish. 
      Like I said I will try to update this often with the things I use and helpful tips/hints. Here are some of the things I do use a lot and mention a lot incase you did not know what I was talking about....

Nail Art/Design Brushes


Crackle,Shatter, etc....(All does the same thing just different names)


Nautical toe nails

I tend to forget to take pictures of my toe nails. Espically since its been cold weather and and they've been covered up. During Christmas time I had them painted blue with another shade of blue snowflakes and a clear coat of silver glitter on top.

But this is call the Nautical nail. First paint all your nails a navy blue color. Then I used the white nail art brush to paint white strips along each nail. You could use white nail strips that are usually used to do tips, but I like actually painting them better than using a bunch of stickers that could peel off. Then took a glitter red nail art brush and painted hearts on top of each nail. I really dont know how to explain how to paint the hearts I just do them. I'll do up another blog sometime on a step by step of doing hearts and other shapes.

Ascending Polka Dots

I really like the design and the color I used for these. Of course they would look really great with any colors this is just my fav colors. I do wish that the dots would have turned out better. But you get the point and I did them kinda in a rush. I first painted all the nails white but your pointer finger and your pinky; those were painted black. Then on every nail I took a hot pink nail art brush and did dots. Starting near the cuticle of the nail with a small dot and working your way to the tip with each dot getting bigger. This was done on all the nails and in the middle of each one. Then on the white nails you take a black nail art brush and did a line of dots just like the pink on both sides of the pink line. And on the black nails you do a white line of dots on both sides of the pink using once again a white nail art brush.

Valentine's nails #2

This was V.day nails number 2. I liked these a lot better and they last so much longer. I also did #1 in January so they didnt make it to V.day. I first painted them with a neon pink polish. (The neon pink base coat used is by Sinful Colors, I love the colors by this brand they're all so bright, but the problem is that they never last long. Even with top coat within days the tips and sides start to chip. The colors are great but not the quality). After the base color dried I used a black nail art brush and painted hearts on all the nails. You could do full hearts or even half hearts looking like they continued into the finger. Then took a solid silver nail art brush and painted in the hearts, then took a clear silver glitter and painted in the hearts as well. Took a light blue nail art brush and did polka dots wherever I could fit them in on the nails. Then used the clear silver glitter polish to paint over the whole nail and lastly a top coat.

Valentine's nails #1

This is the first set of Valentine's day nails that I did. Took a light pink and painted the whole nail. (The light pink used for this was a polish by Niki Minaj) Now to get the "V" shape you can either use the nail tip stickers or just use the nail art brushes and draw a "V" then take a darker shade of pink and paint in the "V" The "V" line was done in a glitter red nail art brush. After all that I had some 3D nail jewels I put a red heart on the middle and the thumb and some small pearls on the other nails. Then of course sealed with a top coat.

Christmas Nails

This was what I had done on all of my nails for Christmas. Took the nail art design brushes and did red and white strips at the tip of the nail.I did the lines in a diagonal. You can make it smaller or wider that's your choice. It also depends on how long your nails are on how wide the tip will be. Then took a glitter green nail design brush and did the bottom line to close it off and make all the lines look even. Once all that dried I took a clear coat of silver glitter polish and lightly pained over top of everything to give it all a glitter look. Then lastly sealed it with a hardening top coat.